tldr; The full package maintenance life cycle should be automated and can be broken down into the following levels of automation sophistication:
- Level 0:
git+ Github - Level 1: Automated tests, running in CI
- Level 2: Use a dependency bot to keep on top of maintenance chores
- Level 3: Automated changelog and release consistency scripts
- Level 4: Human triggered, bot-run version cutting and publishing
- Level 5: Capture common automations into a boiler plate generator
These solutions focus on Node.js + npm packages, automated on Github Actions, but the underlying principals are general to any language or automation platform.
Background
Maintaining lots of software packages is burdensome.
Scaling open source package maintenance beyond a single contributor who understands the release life cycle is challenging.
Long CONTRIBUTING.md files are often the goto solution, but are easily overlooked.

In the end, automating the package life cycle so that it can maintain itself, is the only way to realistically scale a large set of packages in a maintainable way.

For a long time I didn’t seek out automation solutions for package maintenance beyond a few simple solutions like testing and CI. Instead I had a lengthly ritual that looked approximately like this:
# 🔮
git checkout -b my-cool-branch
# do some work
# update tests
# update docs
npm run test
git commit -am 'Describe the changes'
git push -u
hub browse
# do the PR process
# merge the PR
git checkout master
git pull
git branch --delete my-cool-branch
# hand edit changelog
git add CHANGELOG.md
git commit -m 'CHANGELOG'
npm version {major,minor,patch}
git push && git push --follow-tags
npx gh-release
npm publish
# 😅
It was ritual, a muscle memory.
Over the years, I’ve managed to automate away large amount of raw labor to various bots, tools and platforms that tend to build on one another and are often usable in isolation or adopted one at a time. I’ve broken various tools and opportunities for automation into levels, with each level building on the complexity contained in the level below.
Level 0: git and Github
You are already automating your packages to a large extent by your use of git.
git automates the process of working on code across multiple computers and collaborating on it with other people, and Github is the central platform to coordinate and distribute that code.

If you are new to programming or learning git, its helpful to understand you are learning a tool used to automate the process by which you can cooperatively work on code with other people and bots.

This isn’t an article about git though, so I won’t dive more into that.
Level 1: Automated Tests + CI
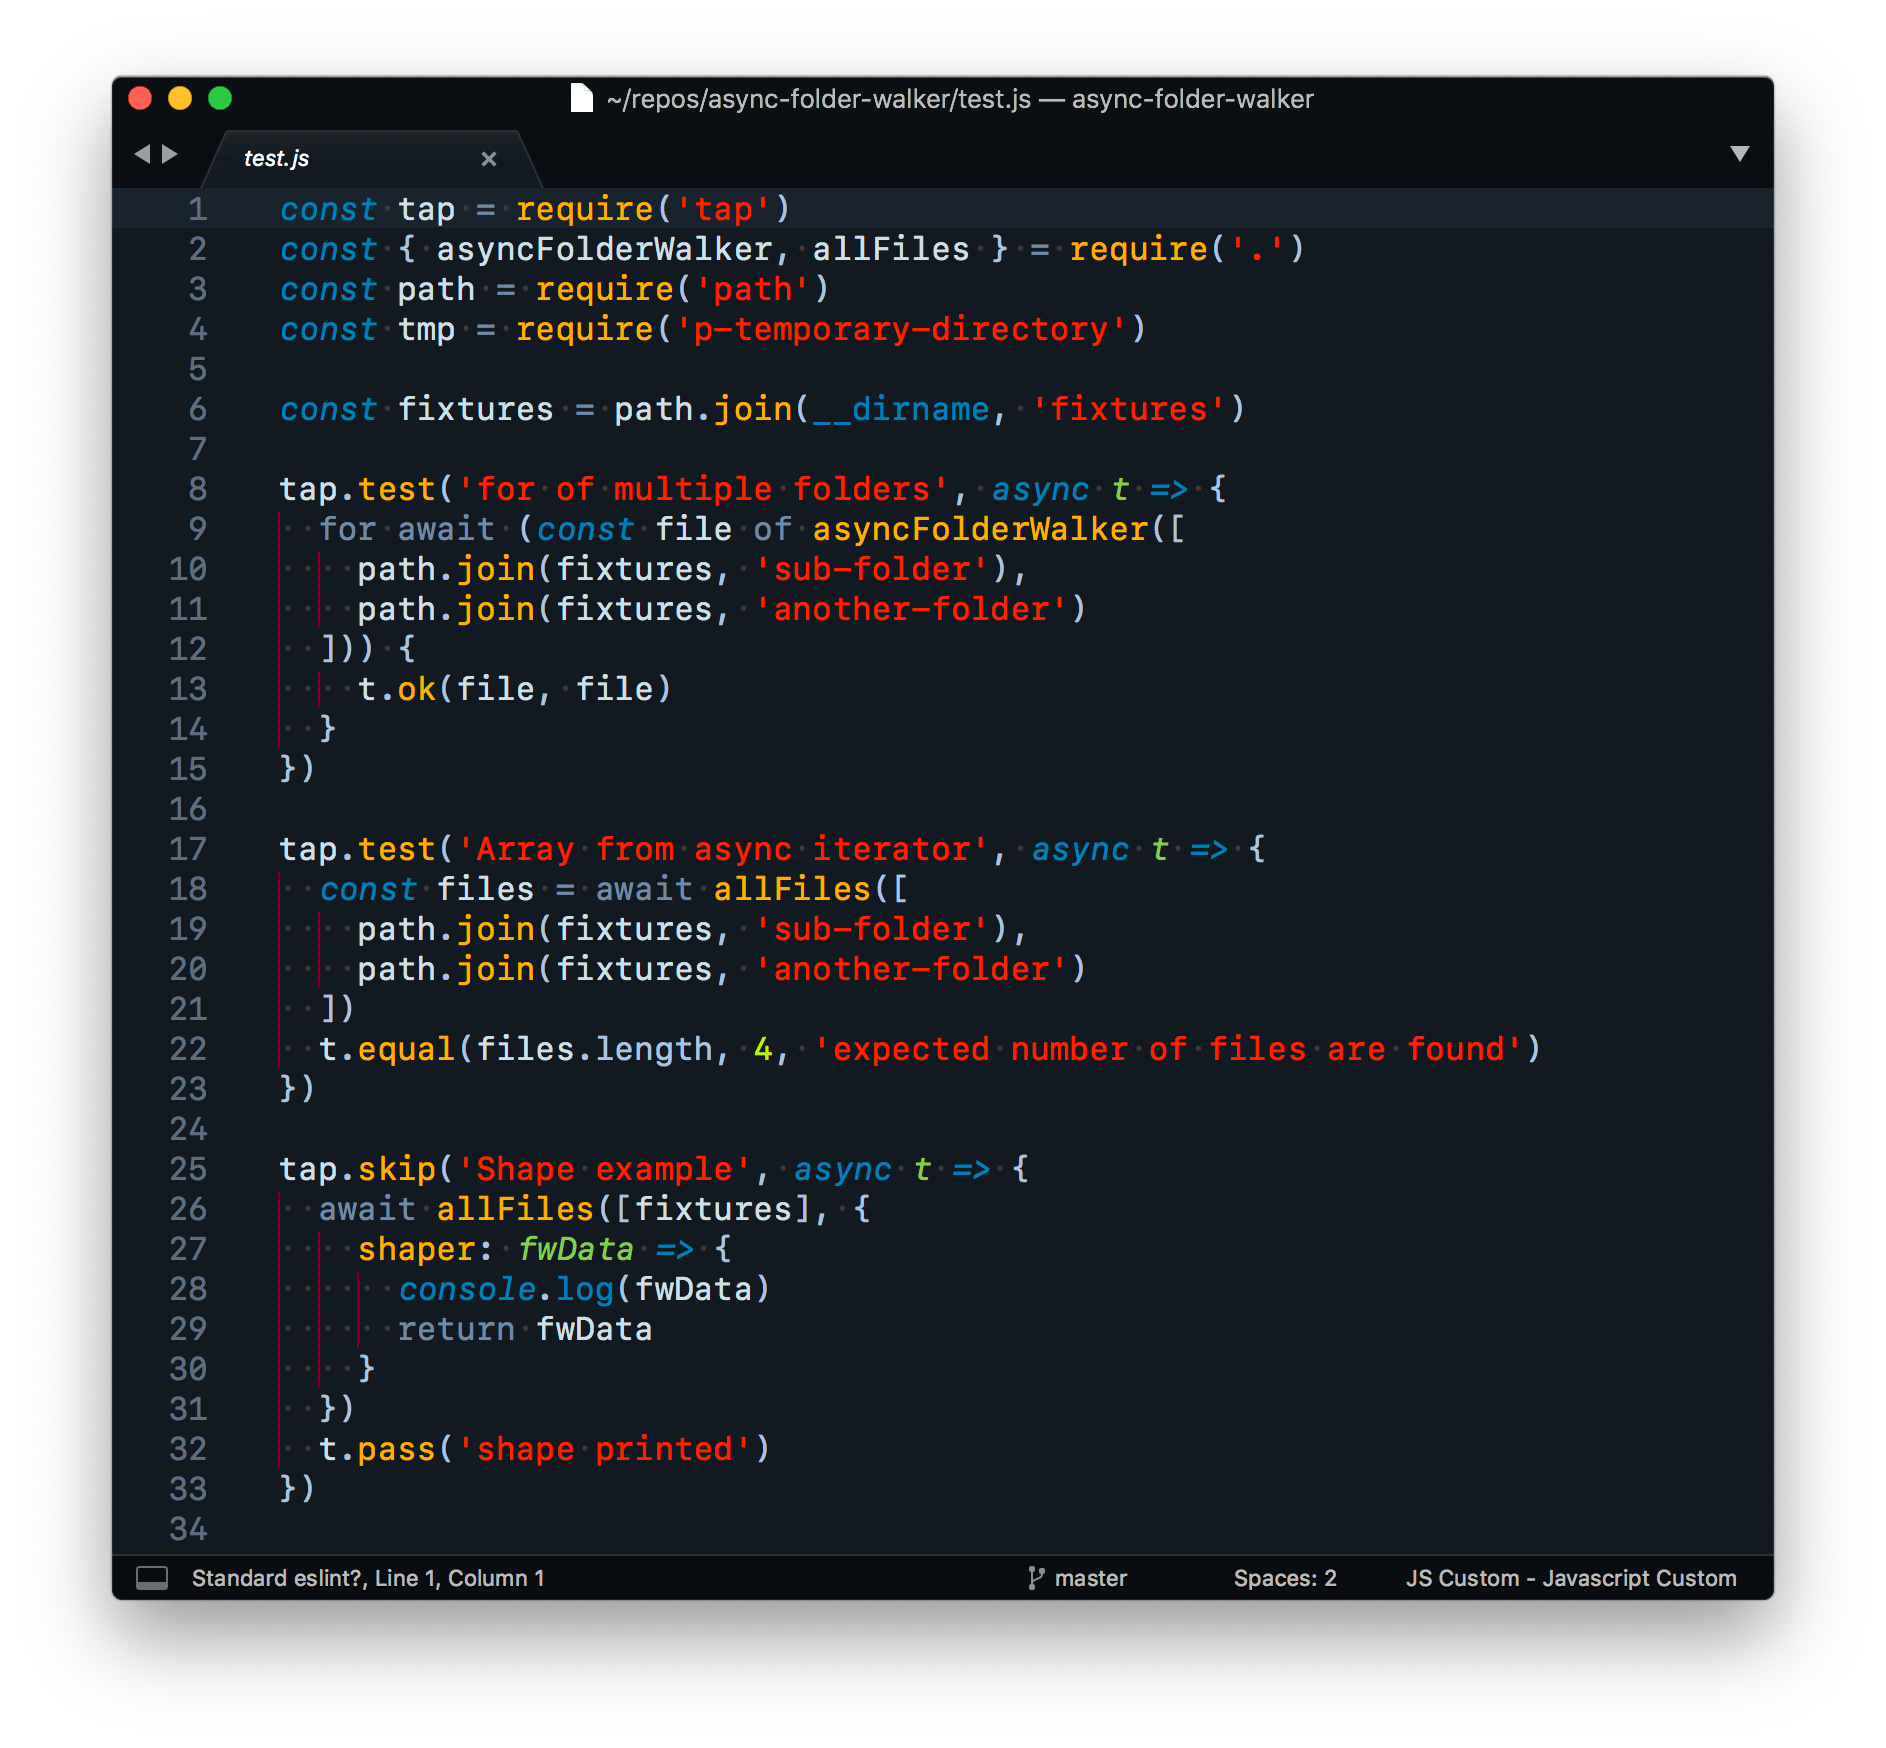
There is no debate. Software isn’t “done” until it has tests. The orthodox position is that you shouldn’t be allowed to write code until the tests are written (TDD). No matter the methodology, you are automating a verification process of the package that you would normally have to perform by hand.
Test runners
These are my preferred test runners for Node.js:
- tape
- No “test harness”.
- Simple, reliable. Just a library, with a CLI that supports globbing.
- It’s done. No surprises.
- tap
- Similar to tape.
- Test runner defaults to improved default test globbing (e.g.
foo.test.js). - async/await support
- Built in NYC support.
- Bad native ESM support.
- Still room for evolution.
Additional Tests
Unit tests that you run with a test runner are not the only type of test though. There are lots of other easy tests you can throw at your package testing step that provide a ton of value:
- Linting (
standard,eslintetc)- Enforce code style and catch errors! Basically spell check on code. This should really be the very first test on every package, since it helps you write correct code.
dependency-check- Verify dependencies listed in
package.jsonmatches usage in the actual code. - This test fails if it finds packages in
package.jsonthat are no longer used in code or if it finds pacakges in use in the code that are not listed inpackage.jsonwhich would cause a runtime error.
- Verify dependencies listed in
- Running a build
- Simply make
npm run buildpart of your test life cycle. - If your package has some sort of build step, simply running a build and checking if it runs without error is a very helpful test. It’s also simple to set up.
- Simply make
- Code Coverage metrics
- nyc is the defacto test coverage tool (built into tap).
- c8 is a native V8 coverage tool, but is lest robust than nyc.
- These don’t need to be pass/fail in terms of coverage going up or down (but they can be).
- These metrics help you validate the tests you wrote are actually running the parts of the code you expect (or don’t expect).
- Platform integration for ingesting these metrics are available, but usually not worth it. Simply having console output is sufficient most of the time.
- coveralls.io is a nice indie service that provides coverage metrics reporting.

Managing complex test scripts
Running multiple tests under npm test can result in a long, difficult to maintain test script. Install npm-run-all2 as a devDependency to break each package.json test command into its own sub-script, and then use the globbing feature to run them all in parallel (run-p) or in series (run-s):
{
  "scripts": {
    "test": "run-s test:*",
    "test:deps": "dependency-check . --no-dev --no-peer",
    "test:standard": "standard",
    "test:tap": "tap"
  }
}
When testing locally, and an individual test is failing, you can bypass the other tests and run just the failing test:
# run just the dep tests
npm run test:deps
npm-run-all2 is a fantastic tool to keep your npm run scripts manageable.
This builds on the fantastic and 2014 classic Keith Cirkel blog post How to Use npm as a Build Tool.
Actually automating the tests
While its obvious that writing automated tests is a form of automation, its still very common to see projects not take the actual step of automating the run step of the tests by hooking them up to a CI system that runs the tests on every interaction with the code on Github. Services like TravisCI have been available for FREE for years, and there is literally no valid excuse not to have this set up.
Although TravisCI has served many projects well over the years, Github Actions is a newer and platform native solution that many projects are now using. Despite the confusing name, Github Actions is primarily a CI service.

Create the following action file in your package repo and push it up to turn on CI.
# .github/workflows/tests.yml
name: tests

on: [push]

jobs:
  test:
    runs-on: $

    strategy:
      matrix:
        os: [ubuntu-latest]
        node: [14]

    steps:
    - uses: actions/[email protected]
    - name: Use Node.js $
      uses: actions/[email protected]
      with:
        node-version: $
    - run: npm i
    - run: npm test
For more information on Action syntax and directives, see:
Automated Checks
Once you have a test suite set up, running in CI, any pull request to your package features the results of the “Checks API”. Various tests and integrations will post their results on every change to the pull request in the form of “running”, “pass” or “fail”.
The benefit to the checks status in the pull request UI is, depending on the quality and robustness of your test suite, you can have some amount of confidence that you can safely merge the proposed changes, while still having things work the way you expect, including the newly proposed changes. No matter the reliability of the test suite, it is still important to read and review the code.

Level 2: Dependency Bots
Your package has dependences. Be it your test runner, or other packages imported or required into your package. They help provide valuable function with little upfront cost.
Dependencies form the foundation that your package is built upon. But that foundation is made of shifting sands⏳. Dependencies have their own dependencies, which all have to slowly morph and change with the underlying platform and dependency changes. Like a garden, if you don’t tend to the weeds and periodically water it with dependency updates, the plants will die.
With npm, you normally update dependencies by grabbing the latest copy of the code and checking for outdated packages:
git checkout master
git pull
rm -rf node_modules
npm i
npm outdated

npm outdated will give you a list of your dependencies that have fallen behind their semver range and updates that are available outside of their semver range.Checking for updates any time you work on the package is not a bad strategy, but it becomes tiresome, and can present a large amount of maintenance work, unrelated to the prompting task at hand, if left to go a long time. A good package doesn’t need to change much, so it may rarely ever be revisited and rot indefinitely.
Enter dependency bots.
A dependency bot monitors your package repositories for dependency updates. When a dependency update is found, it automatically creates a PR with the new version. If you have Level 1 automation setup, this PR will run your tests with the updated version of the dependency. The results will (mostly) inform you if its safe to apply the update, and also give you a button to press to apply the change. No typing or console required! 🚽🤳
Level 1 automation isn’t required to use a dependency bot, but you won’t have any way to automatically validate the change, so they are much less useful in that case.
Dependabot

Github now has a dependency bot built in called dependabot. To turn it on, create the following file in your packages Github repo:
# .github/dependabot.yml

version: 2
updates:
  # Enable version updates for npm
  - package-ecosystem: "npm"
    # Look for `package.json` and `lock` files in the `root` directory
    directory: "/"
    # Check the npm registry for updates every day (weekdays)
    schedule:
      interval: "daily"
  # Enable updates to github actions
  - package-ecosystem: "github-actions"
    directory: "/"
    schedule:
      interval: "daily"
This enables updates for npm and github actions. It offers other ecosystems as well. See the dependabot docs for more info.
In-range breaking change 🚨
Before dependabot, there was a now-shut-down service called Greenkeeper.io which provided a very similar service. It offered a very interesting feature which I’m still not sure if dependabot has yet.

It would run tests every time a dependency in your package was updated, in and out of semver range.
For in range updates that passed, nothing would happen. For in range updates that failed, it would open a PR alerting you that one of your dependencies inadvertently released a breaking change as a non-breaking change. This was a fantastic feature, and really demonstrated the heights that automated tests, CI, an ecosystem that fully utilized semver and dependency bots could achieve together.
Sadly, I haven’t seen other services or languages quite reach these heights of automation sophistication (many ecosystems even lack any kind of major version gate rage), but perhaps as awareness increases of these possibilities more people will demand it.
There is a lot more room for innovation in this space. It would be great to get get periodic reports regarding the health of downstream dependency chains (e.g. if you are depending on a project that is slowly rotting and not maintaining its deps). As of now, dependabot seems to be recovering from a post acquisition engineering fallout, but I hope that they can get these kinds of features back into reality sooner than later.
Linter bots?
There are bots out there that can send in automated code changes source off lint tests and other code analysis tools. While this is ‘cool’, these tasks are better served at the testing level. Automated code changes for failing lint tests should really just be apart of the human development cycle with whatever IDE or editor they use. Still, the bot layer is open to experimentation, so go forth an experiment all you want, though note that external service integrations have a heavy integration cost usually. 🤖
Level 3: Automated Changelog and Release Consistency Scripts
Quick recap:
- Level 0: we’ve automated collaboration and are receiving patch PRs from humans.
- Level 1: We automatically validate code with a test suite that runs on every PR.
- Level 2: We have a bot sending in patches for tedious dependency management tasks.
That means our package is going to morph and change with time (hopefully not too much though). We need a way way to communicate that clearly to downstream dependents, be that us, someone else on the team or a large base of dark-matter developers.
The way to do this is with a CHANGELOG.md file. Or release notes in a Github release page. Or ideally both. keepachangelog.com offers a good overview on the correct format a CHANGELOG.md should follow.

This is a tedious process. If you work with other people, they might not be as motivated as you to handcraft an artisan CHANGELOG file. In my experience, the handcrafted, artisan CHANGELOG is too much work and easy to forget about. Also, I haven’t found a good linter tool to enforce its maintenance.
auto-changelog
auto-changelog is a tool that takes your git history and generates a CHANGELOG that is almost-just-as-good as the artisan handcrafted one. Hooking this tool into your package’s version life cycle enforces that it is run when a new version is generated with npm version {major,minor,patch}.
While keepachangelog.com advocates for the handcrafted version, and discourages ‘git commit dumps’, as long as you are halfway concious of your git commit logs (as you should be), the auto-changelog output is generally still useful.
You can even follow conventionalcommits.org if you want an even more structured git log.
Automating auto-changelog to run during npm version[1] is easy.
Install it as a devDependency and set up the following script in package.json:
{
  "scripts": {
    "version": "auto-changelog -p --template keepachangelog auto-changelog --breaking-pattern 'BREAKING CHANGE:' && git add CHANGELOG.md"
  }
}
The version script is a npm run lifecycle script that runs after the package.json version is bumped, but before the git commit with the change are created. Kind of a mouthful, but with nice results.

auto-changelog generates satisfactory changelogs. The consistency it provides exceeds the value a hand written changelog can provide due to its inconsistent nature.Publishing consistency scripts
Ok, so we have local changes merged in, and we’ve created a new version of the module with an automated changelog generated as part of the npm version commit. Time to get this all pushed out and published! By hand we could do:
git push --follow-tags
# copy contents of changelog
# create a new Github release on the new tag with the changelog contents
npm publish
But that is tedious.
And what happens when your colleague forgets to push the git commit/tag to Github and just publishes to npm?
Or more likely, they just forget to create the Github release, creating inconsistency in the release process.
The solution is to automate all of this!
Use the prepublishOnly hook to run all of these tasks automatically before publishing to npm via npm publish.
Incorporate a tool like gh-release to create a Github release page for the new tag with the contents of your freshly minted auto-changelog.
{
  "scripts": {
    "prepublishOnly": "git push --follow-tags && gh-release -y"
  }
}
gh-release makes it easy to create Github releases from a CHANGELOG.md.The result of this is our release process is returned to the lowest common denominator of process dictated by npm:
npm version {major,minor,patch}
npm publish
But we still get all of these results, completely automated:
- Automated changelog updating via
auto-changelog - Automated version bumping and creating a new version
gitcommit+tag. - Automated pushing to Github (including new tags)
- Automated Github release creation via
gh-release, with the new contents of CHANGELOG - Published assets to
npm.
All together
Those two run scripts together:
{
  "scripts": {
    "version": "auto-changelog -p --template keepachangelog auto-changelog --breaking-pattern 'BREAKING CHANGE:' && git add CHANGELOG.md",
    "prepublishOnly": "git push --follow-tags && gh-release -y"
  }
}
Extending with a build step
Some packages have builds steps. No problem, these are easily incorporated into the above flow:
{
  "scripts": {
    "build": "do some build command here",
    "prepare": "npm run build",
    "version": "run-s prepare version:*",
    "version:changelog": "auto-changelog -p --template keepachangelog auto-changelog --breaking-pattern 'BREAKING CHANGE:'",
    "version:git": "git add CHANGELOG.md dist",
    "prepublishOnly": "git push --follow-tags && gh-release -y"
  }
}
Since version becomes a bit more complex, we can break it down into pieces with npm-run-all2 as we did in the testing step. We ensure we run fresh builds on development install (prepare), and also when we version. We capture any updated build outputs in git during the version step by staging the dist folder (or whatever else you want to capture in your git version commit).
This pattern was documented well by @swyx: Semi-Automatic npm and GitHub Releases with gh-release and auto-changelog.
Level 4: Publishing Bots 🤖
We now have a process for fully managing the maintenance and release cycle of our package, but we are still left to pull down any changes from our Github repo and run these release commands, as simple as they are now.
You can’t really do this on your phone (easily) and someone else on the project still might manage to not run npm version and just hand-bump the version number for some reason, bypassing all our wonderful automation.
What would be cool is if we could kick of a special CI program that would run npm version && npm publish for us, at the push of a button.
It turns out Github-Actions has a feature now called workflow_dispatch, which lets you press a button on the repos actions page on GitHub and trigger a CI flow with some input.

workflow_dispatch actions lets you trigger an action from your browser, with simple textual inputs. Use it as a simple shared deployment environment.Implementing workflow_dispatch is easy: create a new action workflow file with the following contents:
# .github/workflows/release.yml

name: npm version && npm publish

on:
  workflow_dispatch:
    inputs:
      newversion:
        description: 'npm version {major,minor,patch}'
        required: true

env:
  node_version: 14

jobs:
  version_and_release:
    runs-on: ubuntu-latest
    steps:
    - uses: actions/[email protected]
      with:
        # fetch full history so things like auto-changelog work properly
        fetch-depth: 0
    - name: Use Node.js $
      uses: actions/[email protected]
      with:
        node-version: $
        # setting a registry enables the NODE_AUTH_TOKEN env variable where we can set an npm token.  REQUIRED
        registry-url: 'https://registry.npmjs.org'
    - run: npm i
    - run: npm test
    - run: git config --global user.email "[email protected]"
    - run: git config --global user.name " $"
    - run: npm version $
    - run: npm publish
      env:
        GH_RELEASE_GITHUB_API_TOKEN: $
        NODE_AUTH_TOKEN: $
Next, generate an npm token with publishing rights.
Then set that token as a repo secret called NPM_TOKEN.

GitHub secrets allows you to securely store tokens for use in your GitHub Actions runs. It's not bulletproof, bit its pretty good.Now you can visit the actions tab on the repo, select the npm version && npm publish action, and press run, passing in either major, minor, or patch as the input, and a GitHub action will kick off running our Level 3 version and release automations along with publishing a release to npm and GitHub.
Note: Its recommended that you .gitignore package-lock.json files, otherwise they end up in a library source, where it provides little benefit and lots of drawbacks.
I created a small actions called npm-bump which can clean up some of the above action boilerplate:
name: Version and Release

on:
  workflow_dispatch:
    inputs:
      newversion:
        description: 'npm version {major,minor,patch}'
        required: true

env:
  node_version: 14

jobs:
  version_and_release:
    runs-on: ubuntu-latest
    steps:
    - uses: actions/[email protected]
      with:
        # fetch full history so things like auto-changelog work properly
        fetch-depth: 0
    - name: Use Node.js $
      uses: actions/[email protected]
      with:
        node-version: $
        # setting a registry enables the NODE_AUTH_TOKEN env variable where we can set an npm token.  REQUIRED
        registry-url: 'https://registry.npmjs.org'
    - run: npm i
    - run: npm test
    - name: npm version && npm publish
      uses: bcomnes/[email protected]
      with:
        git_email: [email protected]
        git_username: $
        newversion: $
        github_token: $ # built in actions token.  Passed tp gh-release if in use.
        npm_token: $ # user set secret token generated at npm

npm-bump helps cut down on some of the npm version and release GitHub action boilerplate YAML. Is it better? Not sure!So this is great! You can maintain packages by merging automatically generated pull requests, run your tests on them to ensure package validity, and when you are ready, fully release the package, with a CHANGELOG entry, all from the push of a button on your cell phone. Fully Automated Luxury Package Space Maintenance. 🛰🚽🤳
Level 5: Project generation
What is the best way to manage all of these independent pieces? A template! Or, a template repo.
You mean things like yeoman? Maybe, though that tool is largely used to ‘scaffold’ massive amounts of web framework boilerplate and is a complex ecosystem.
Something simpler will be more constrained and easier to maintain over time. Github repo templates and create-project are good choices.
Github Template Repos
Github offers a very simple solution called template repos. You take any repo on GitHub, go into its settings page and designate it as a template repo. You can create a new repo from a template repo page with the click of a button, or select it from a drop down in the github create repo wizard.

The only issue, is that you then have to go through and modify all the repo specific parameters by hand. Better than nothing! But we can do better.
create-project repos
create-project is a simple CLI tool (by @mafintosh) that works similar to Github template repos, except it has a `` system that lets you insert values when spawning off a project repo. You can designate your create-project template repos to also be a Github template repo, and create new projects either way you feel like it.
create-project lets you spawn a new project from a git repo and inject values into special Here are some of my personal template repos:
- bcomnes/templates - simple template for Node.js CJS code.
- bcomnes/esm-template - template that includes complexity to publish an ESM module to npm with CJS fall back support. A topic for a future blog post!
- bcomnes/go-template - a Go package boilerplate template that includes versioned dev tooling support.
create-projectdoesn’t need to only manage boilerplate for Node.js projects. Maybe a go tool would be better for this, but it does show the flexibility of the tools.
What about docs?
There are various solutions for generating docs from comments that live close to the code.
- jsdoc
- typedoc
- documentation.js
- Type Safe JavaScript with JSDoc
- Pelle Wessman on JSDoc-comments
- deno doc
I haven’t found a solution that satisfies my needs well enough to use one generally. Its hard to exceed the quality docs written by hand for and by humans. If you have a good solution please let me know!

All together now
That was a lot to cover.
If you want to see a complete level 0 through level 5 example, check out my create-template template repo snapshotted to the latest commit of the time of publishing.
Final thoughts
This collection is written in the context of the Node.js programming system, however the class of tools discussed apply to every other language ecosystem and these automation levels could serve as a framework for assessing the maturity of automation capabilities of other programming language systems. Hopefully they can can provide some insights into the capabilities and common practices around modern JavaScript development for those unfamiliar with this ecosystem.
Additionally, this documents my personal suite of tools and processes that I have developed to automate package maintenance, and is by no means normative. Modification and experimentation is always encouraged.
There are many subtle layers to the Node.js programming system, and this just covers the maintenance automation layer that can exist around a package. Much more could be said about the versioned development tooling, standardized scripting hooks, diamond dependency problem solutions, localized dependencies, upstream package hacking/debugging conveniences and local package linking. An even deeper dive could be made on the overlap these patterns have (and don’t) have in other JS runtimes like Deno which standardizes a lot around Level 1, or even other languages like Go or Rust.
If you enjoyed this article, have suggestions or feedback, or think I’m full of it, follow me on twitter (@bcomnes) and feel free to hop in the the accompanying thread. I would love to hear your thoughts, ideas and examples! Also subscribe to my RSS/JSON Feed in your favorite RSS reader.
"Fully Automated Luxury Space Age Package Maintenance"
— 🌌🌵🛸Bret🏜👨👩👧🚙 (@bcomnes) September 29, 2020
I wrote up how tedious package maintenance tasks can be fully automated.
Hope someone enjoys!https://t.co/fvYIu2Wq0r pic.twitter.com/q220LTax8X